
Whether amateurs or professionals like Earth Development for example, everyone dreams of having a beautiful private golf green in their garden. It will be a way to practice your game to impress your friends on weekends. It will also be a technique to negotiate with customers.
Because green has become the temple of commercial transactions in recent years, here are the scores and professional success. Not to mention that a golf course at home will allow you to share your passion with those around you. This project seems, at first glance, expensive and difficult to do. And yet, making a golf green in one’s outdoor space is not a luxury product. Here are some tips to make creating your golf green at home in your garden easier!
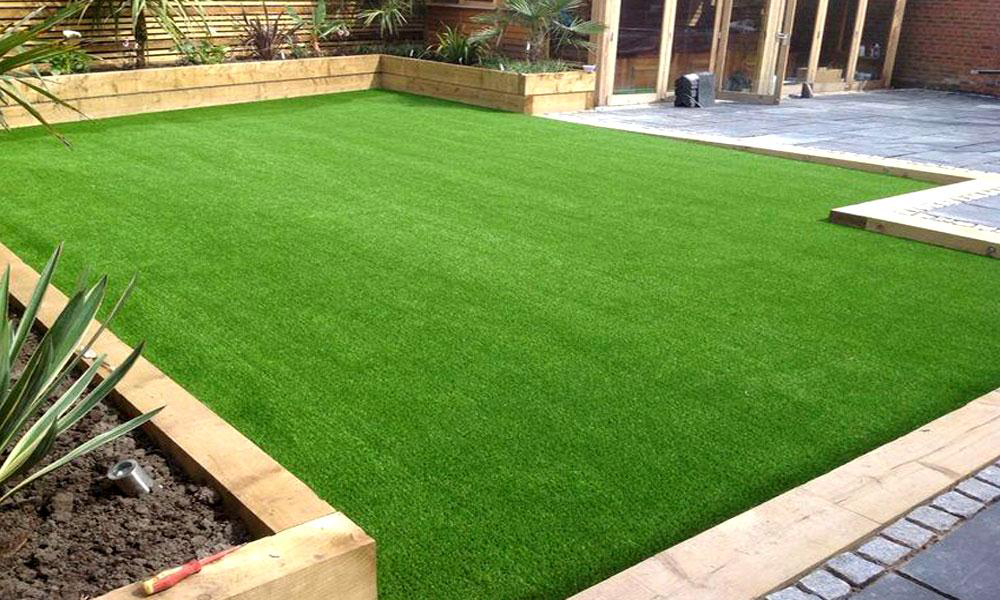
A Natural Green: Very Aesthetic, But Difficult To Maintain
A grass golf green is the most of green to install at home. Being aesthetic and respectful of the environment can be a plus in your landscaping. And it is customizable according to the size of your garden. But beware, it’s not just about boasting about having a personal practice at home! The creation of such a structure requires thoroughness and patience and experts like spring lawn clean up services near me.
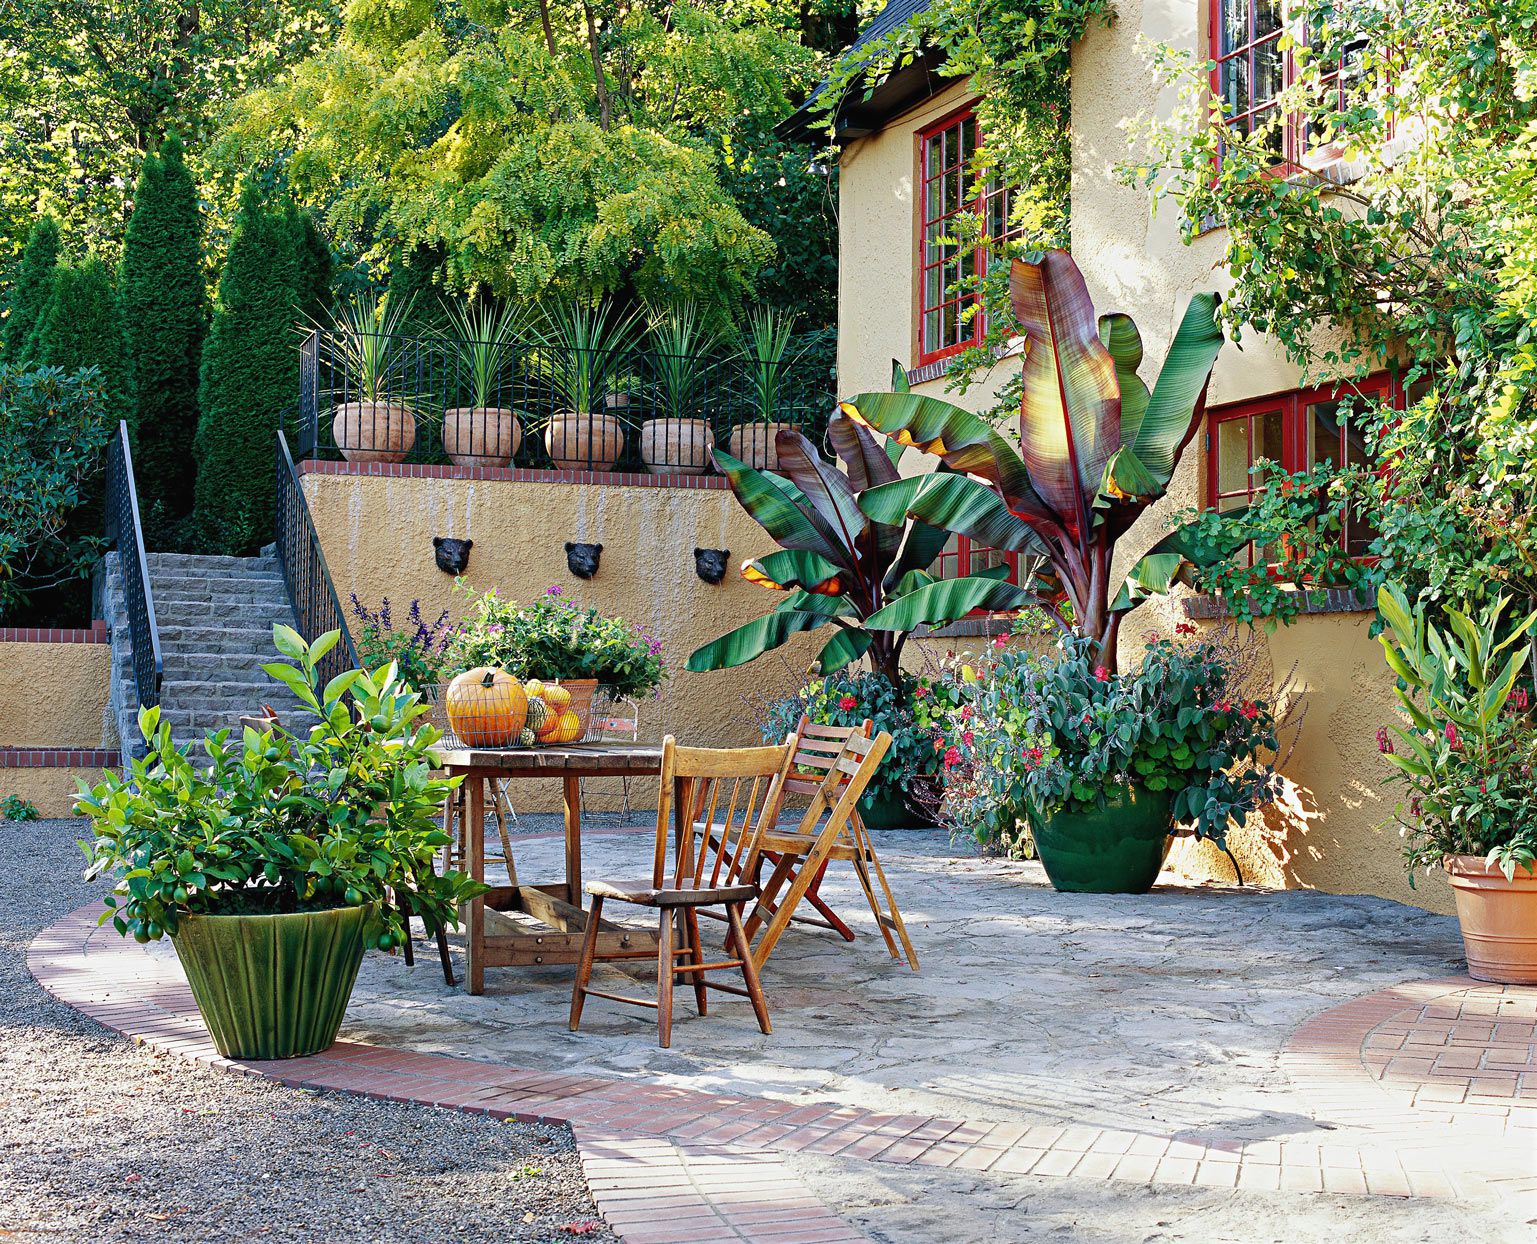
A Beautiful Golf Green In Your Garden. Would You Like It?
Landfilling
All construction work must begin with the backfilling of the land. This is to level the base of your green. But since this is a golf green, having a smooth base is more than enough. For this first step, you will need a heavy-duty machine. On the net, you can find individuals who rent them. You don’t need to buy one. It would be too big an investment that you will find it very difficult to make profitable.
Limit The Green With Shapes Worthy Of Pro Practices
In the pro practices, you have surely noticed that the greens do not have fixed edges. It’s a simple aesthetic approach. And you will have no trouble respecting it. All you have to do is mark out the path with the shapes of your choice.
To do this, outdoor furniture sites offer you wooden ramparts, decorative pebbles, etc. You don’t need to put a permanent structure in place like a concrete slab. And with this technique, you can change the shape of your course whenever you feel like it.
Prepare The Land
Now it remains to prepare the land. This third phase of creating the golf green is of paramount importance. It ensures good behavior and the robustness of your course. The main purpose is to prevent weeds from growing in the ground. Depending on the quality of your base, you have several types of products in this sense on the market. It will suffice to place sand or peat in abundance on your soil before leveling everything.
Wait For The Seeds To Sprout
After preparing your ground well, the biggest and the slowest remains to be done. The grass will have to grow. The quality of this will depend on the performance of your game. Therefore, choosing the seeds carefully will be necessary when you buy them.
Attention, do not opt for the easy solution: buying chips of ground with planted herbs. Fresh and carefully preserved seeds are preferred to ensure that your green is at the same level as clubs of all kinds. We speak, among other things, of English grass, without bluegrass: “English Ray Grass + red fescue + ovine fescue,” Preferably planted in spring or fall. And remember to distribute the seeds evenly over the entire surface. Five days after sowing, consider watering the plants to encourage development.


Comments